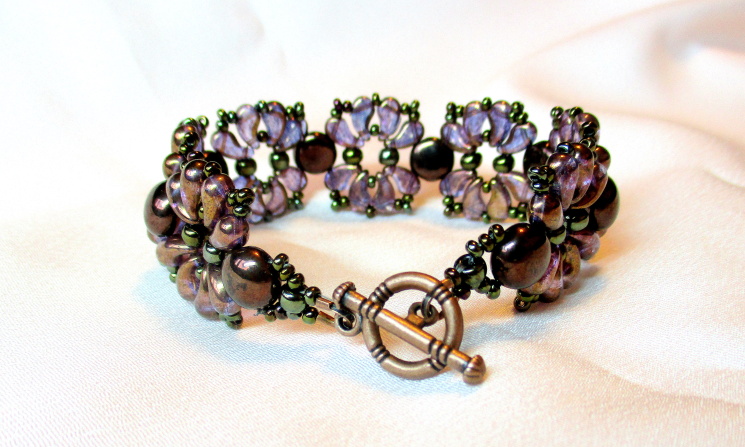
Zoliduo VIOLETS
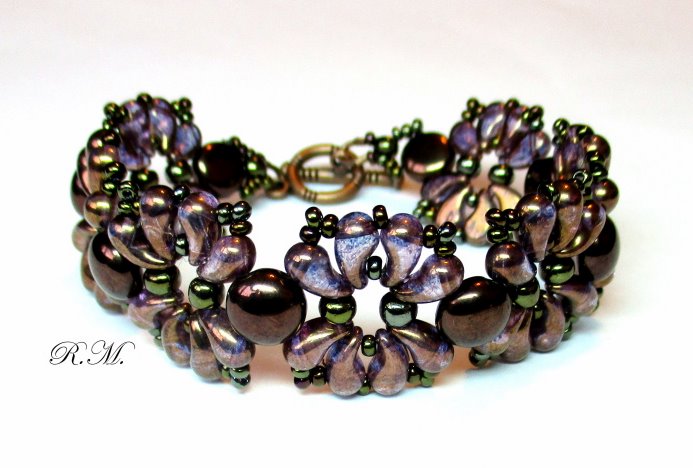
By: Růžena Mikulová
The quantity stated below will do to sew a bracelet in the length of 18,5 cm (7 violets).
- ZOLIDUO beads left execution (ZL) - 28 pieces
- ZOLIDUO beads right execution (ZP) – 28 pieces
- Preciosa Candy beads (C) – 8 pieces
- Rocailles 11/0 (R11)
- Rocailles 6/0 (R6)
- Half rings – 2 pieces
- OT (American) clasp – 1 piece
- Firm stringing material
The tools:
Needle, scissors, if needed solder, suitable base
The procedure:
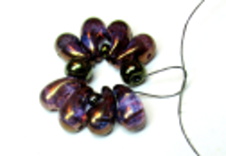
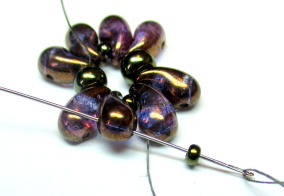
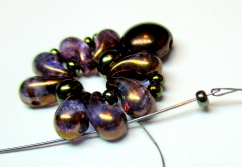
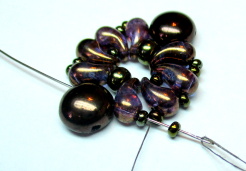
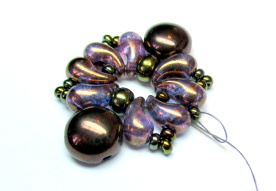
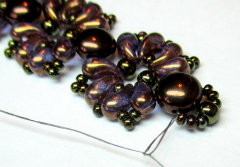
- String 1x R6, 2x ZL, 1x R11, 2x RP, 1x R6, 2x ZL, 1x R11, 2x ZP onto the needle (picture 1).

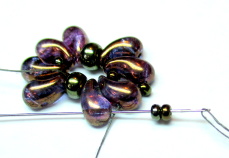
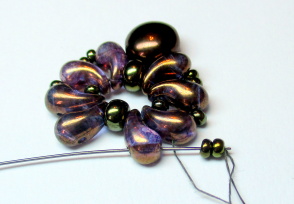
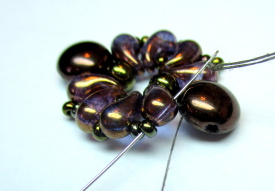
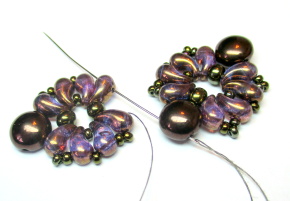
- Sew through all strung beads once more in the same order they were strung and knot both ends by two – three knots (picture 2).
-
-
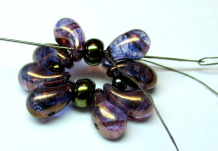
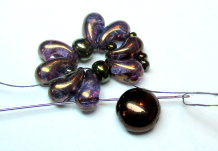
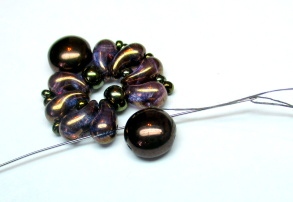
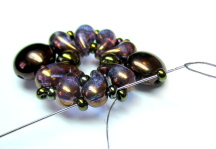
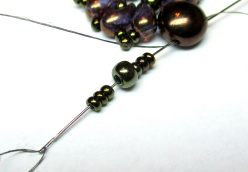
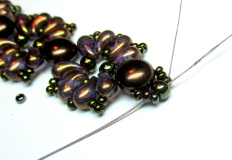
Pass the needle through the nearest beads R6 and 1x ZL and pull the knot into the bead R6 (picture 3).

-
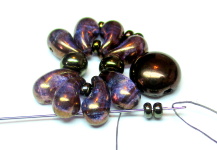
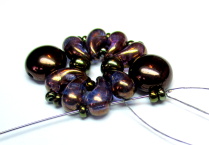
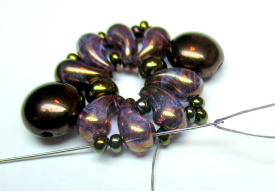
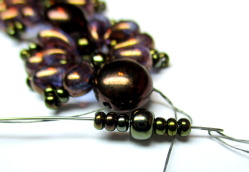
Pass the needle through the following three beads and then pass it through the second hole of the last strung bead ZP (picture 4).
-
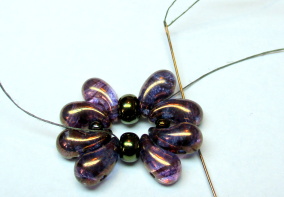
String 1x R11 and pass the needle through the nearest following bead ZL (picture 5).
-
String 2x R11 and pass the needle through the following bead ZL (picture 6).
-
String 1x the bead C and pass the needle through the following bead ZP (picture 7).

-
String 2x R11 and pass the needle through the following bead ZP (picture 8).

-
String 1x R11 and pass the needle through the following bead ZL (picture 9).
-
String 2x R11 and pass the needle through the following bead ZL (picture 10).
-
String 1x the bead C and pass the needle through the nearest bead ZP (picture 11).
-
String 2x R11 and pass the needle through the nearest beads ZP and R11 (picture 12).

-
Pass the needle through the nearest bead ZL and the nearest R11, string 1x R11 and pass the needle through the following bead R11 and then through the next following beads ZL and C (picture 13).
-
Pass the needle through the following bead ZP and then through the following bead R11 (picture 14).
-
String 1x R11 and pass the needle through the nearest following bead R11, then through the following beads ZP and R11 (picture 15).

-
Pass the needle through the following beads ZL and 1x R11 (picture 16).
-
String 1x R11 and pass the needle through the following beads R11, ZL and C (picture 17).

-
Pass the needle through the following beads ZP and 1xR11, string 1x R11 and pass the needle through the nearest beads 1x R11, ZR a 1x R11 (picture 18).

-
Secure the stringing by two knots and then finish the stringing firmly into the motif (picture 19).
-
Following the procedure described para 1-10 sew another motif, then pass the needle through the bead C of the first motif and then through the following bead Z on the current motif, in the next step go on the procedure described para 12 – 19 (picture 20).
-
Thus sew and link all parts of the bracelet. According to the described procedure furnish the outer parts by the clasp.
-
Pass the needle through the bead C, string 3x R11, 1x R6, 3x R11 and pass the needle through the initial bead C (picture 21).
-
Pass the needle through the strung rocailles (picture 22).
- Pass the needle through the initial bead C and both ends of the stringing firm by two – three knots (picture 23).
-
Pass the needle through the bead C and pull the knot into it then pass it through the nearest beads so that it comes from the bead R6 (picture 24).

-
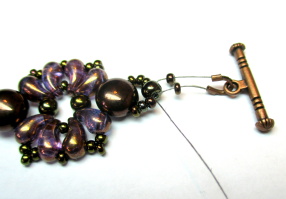
String 1x R11 on the needle, twice half ring, string 1 part of the clasp on the half ring, then string 1x R11 and pass the needle through initial bead R6. Sew through the sewn part with the clasp once again and finish up the string properly (picture 25).
-
Keep on the same procedure on the other part of the bracelet (picture 26).
Wishing you nice work
-